Bobcat Decal Placement
|
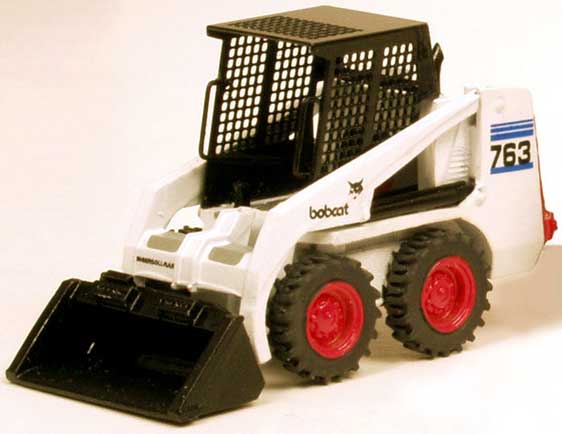
| We are very pleased to present our factory authorized Bobcat decals (#12046). We have included several photos and tips here to assist in painting and applying decals to your model. |
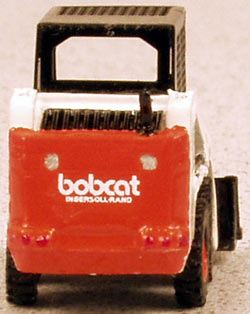
| Recommended Paint Colors Testors Classic Black - bucket, cab protector, exhaust stack, hydraulic cylinders, rear vent, operator's seat Testors Chevrolet Eng. Red - wheels, engine cover Testors Steel Non Buffing Metalizer - backup lights (refer to Photo 2), front headlights if added (see below) Testors Flat Black - tires Testors Classic White - overall body color Testors Stop Light Red Metallic - all 6 light molds near bottom of engine cover |
|
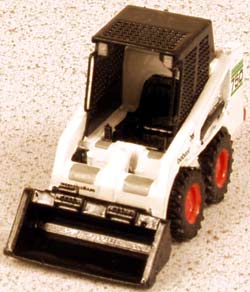 Photo 3 | Suggested Enhancements To GHQ Kit Instrument Panel & Front Lights - Recommend that instrument panel decals be cut from decal sheet but not removed from decal backing paper. Glue decal (still on backing paper) into upper inside corners of cab guard, facing operator seat. Paint back of decal backing paper (which is facing forward) gloss black. Cut small plastic rectangles, paint steel, and glue to front as shown in Photo 3. Hand Grabs - These are Detail Associates #6602 (Grab Irons - Roof 24") made for railroad model freight cars Exhaust Stack - Bend supplied exhaust stack at halfway point as shown in Photo 1. |
|
Note: Decals should only be applied to a gloss finish. If your model has been painted with flat paints we recommend you spray with gloss coat before decal application. If you desire a flat or semi-gloss finish on the final model, spray your desired top coat after decal application. Also available in Adobe Acrobat PDF format. | |